Monday, December 26, 2011

Beginning Final Assembly
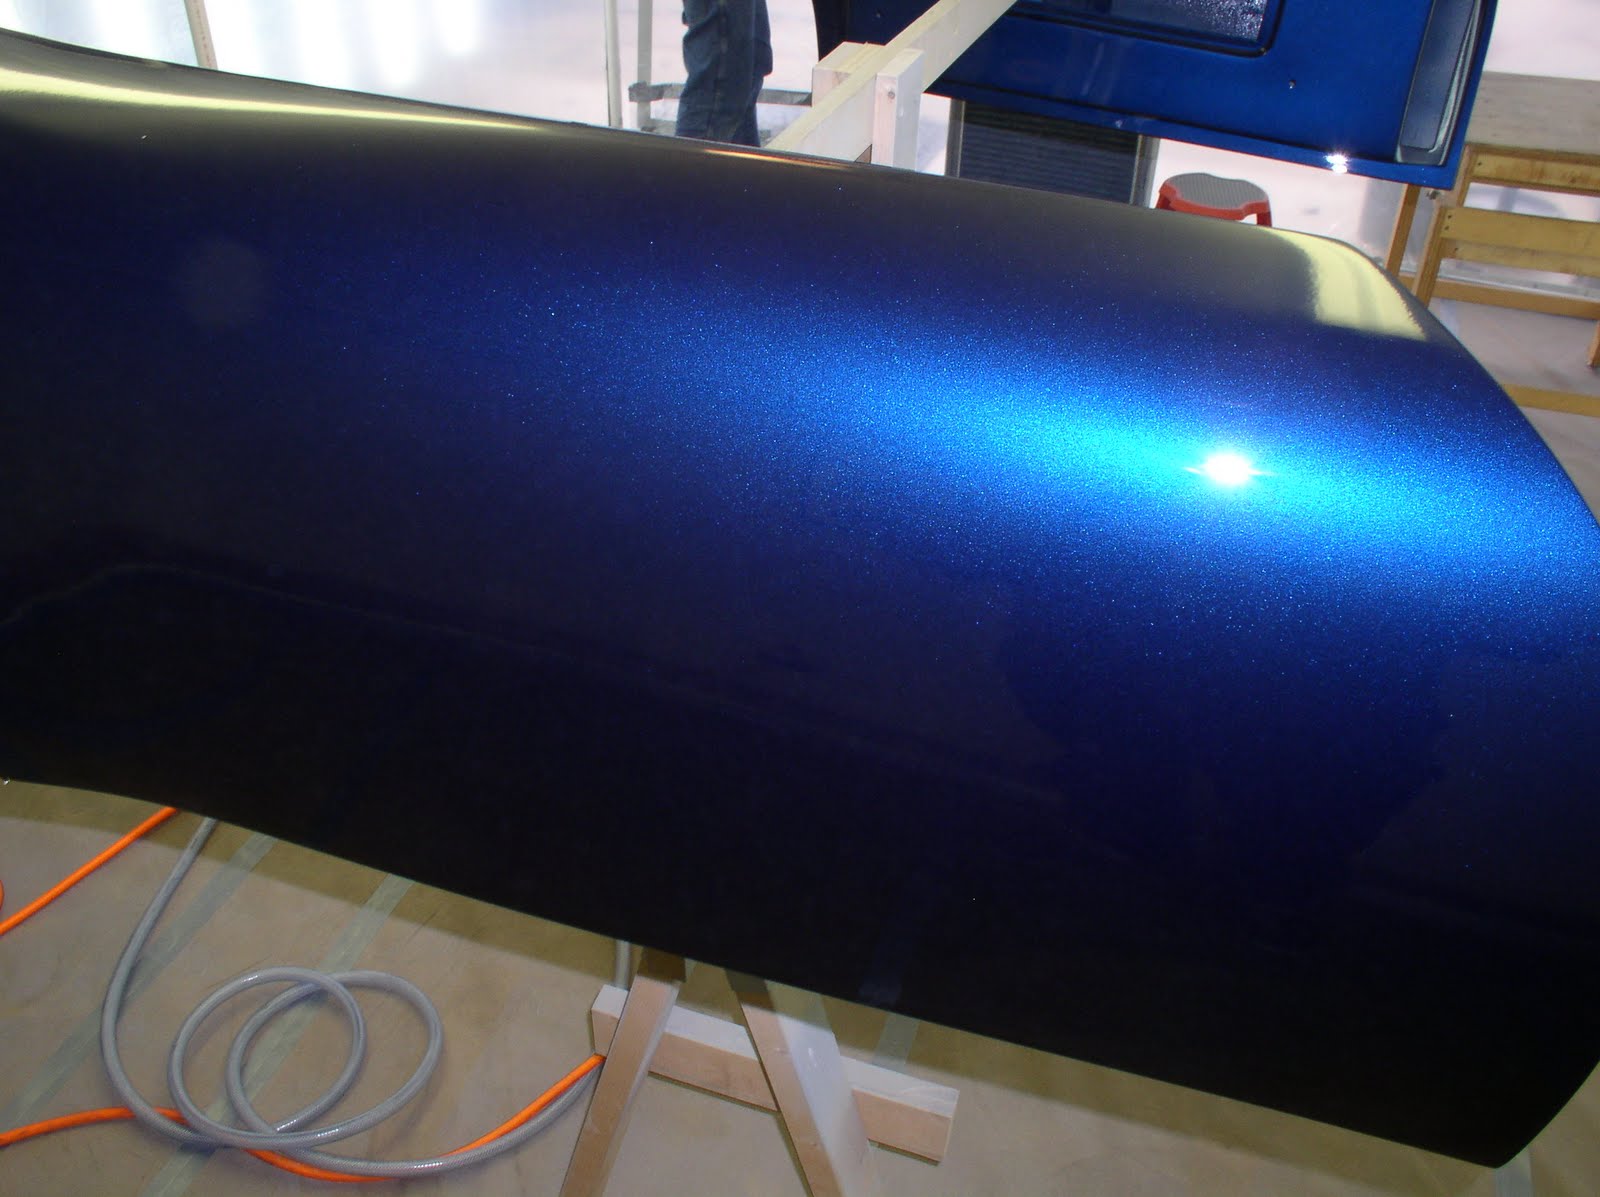
We positioned the door on the body (protected by a little tape) to make sure the color was a perfect match. Since we painted the doors on a different day from the rest of the body, there was a small chance that the color match wouldn't be right. No problem here!

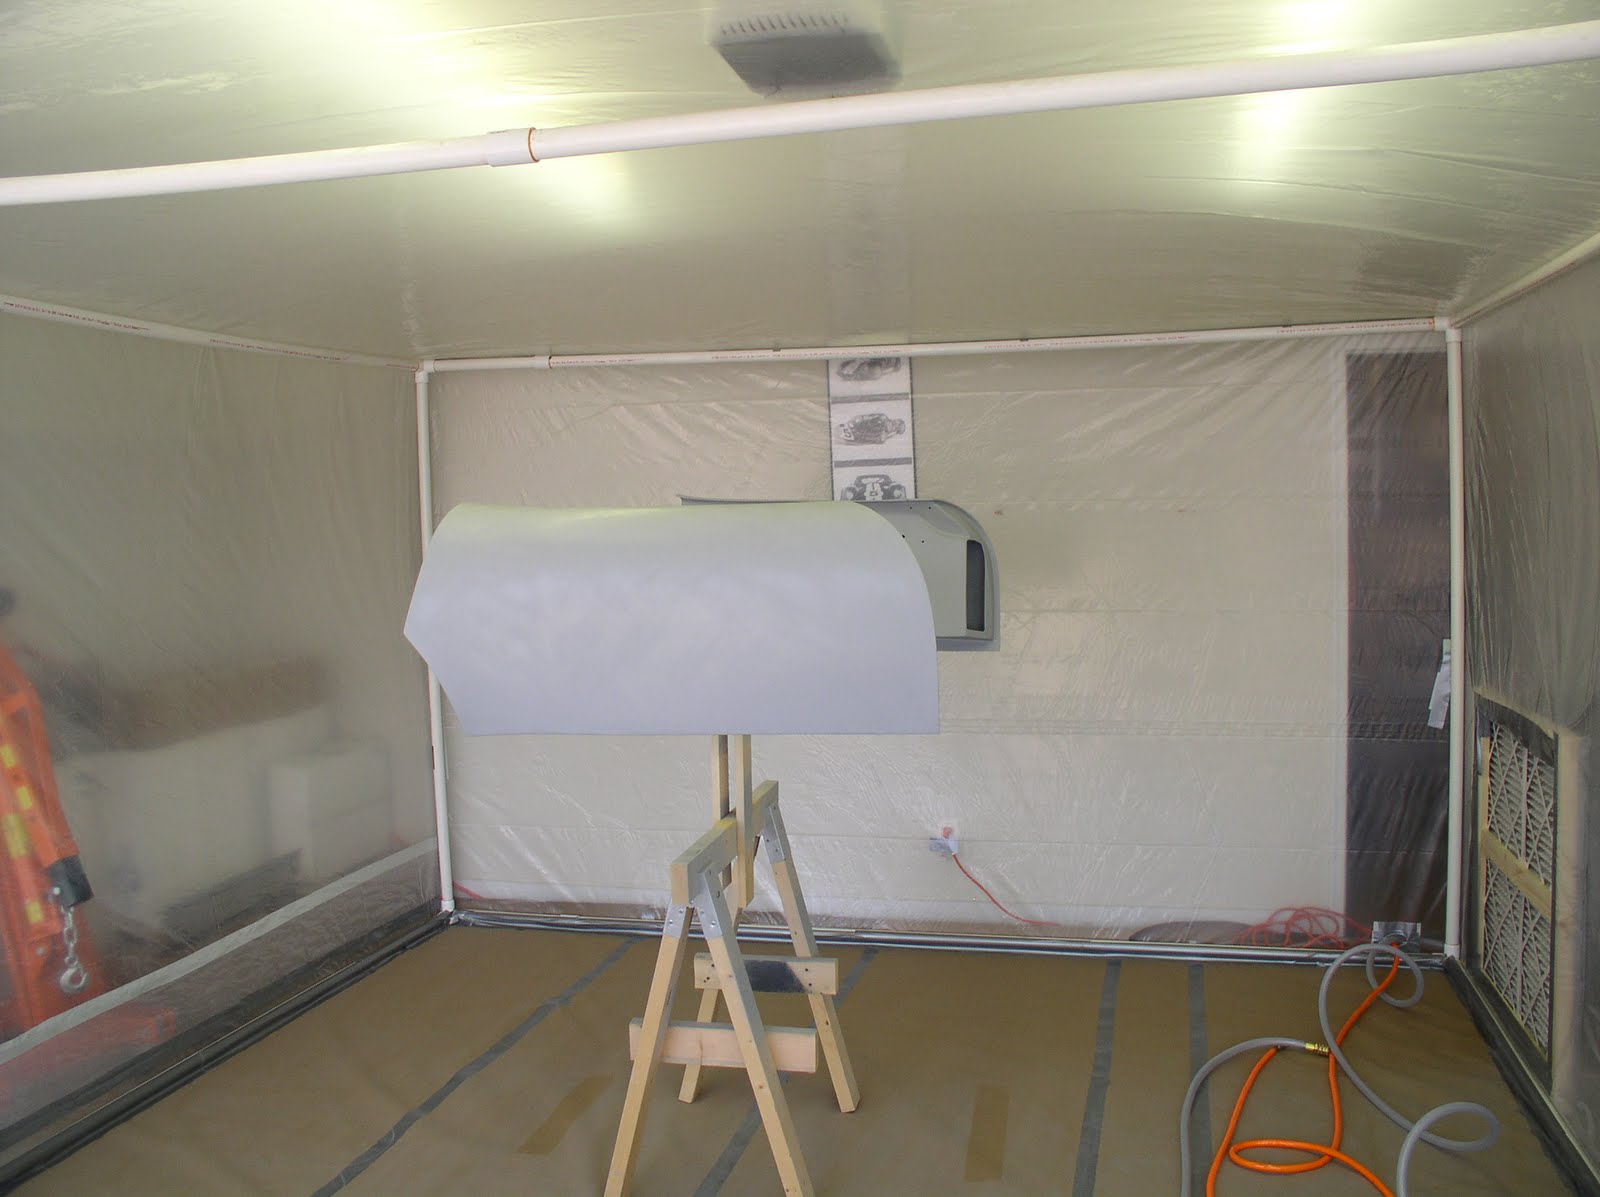
We broke down the paint booth and cleaned up the garage. That was too much fun to stop and take pictures, so no pics to share. ;-)
We uncovered the chassis and moved it back into the garage.
We expected a few issues due to the car being out in the elements under a tarp for 6 months, but we were pleasantly surprised to find just a little bit of surface rust on a few pieces.
Throughout the build we have been fitting and temporarily installing countless items on the car to help us get some other step completed. We've applied and removed some parts several times. There is still plenty to do, but it feels different to be putting something on the car for the last time.
In these pictures you can see that we have the trunk floor and sides mounted. We had to fabricate the "shock houses" on the sides of thtrunk to seal the trunk from the shock mounting brackets. We also cut a hole in the trunk floor and created a hatch cover so that we can access the battery. Two small holes in the trunk floor on the left side provide a place to mount a button to pop the driver's door open (in case the remote fails to do it), and another hole to reset the fuel pump cutoff switch. That hole will be filled with a removable plastic plug once the carpet goes in.
Carpet? In a race car?!? :-)
Until next time!

Friday, December 9, 2011

We Have Paint!

The weather broke for us just enough over the weekend to paint the car. We had 2 nights in the mid-50's and two days of above 70, so we began a marathon that culminated in a shiny new paint job.

We extended the paint booth, scuffed the nose up with Scotchbrite pads, sprayed sealer on the body, and sanded a couple of runs in the sealer. That took us until dinner Sunday night. After that, we sprayed three coats of white paint on parts of the car and let it sit for an hour or so.

Then it was time to tape off the stripes. Over the course of 7 hours, my wife and I measured, marked, and taped the stripes and the back of the car.


By morning, we started spraying blue paint. It took three coats of blue to get proper coverage. Did I mention the 25mph winds or the rain that started just as we finished spraying the blue paint? Fearing that the booth roof would leak, I sprayed sealer only on the part of the body that was actually inside the garage. Once that part of the body was dry, we moved it outside and sprayed the other piece. By 8:30 Monday evening, we had everything sprayed and cured enough to start cleaning up.


I finally fell into bed at 9:30, just 39-1/2 hours after getting up Sunday morning. With all of the stooping, kneeling, reaching, lifting, etc, I felt like I'd been hit by a car.

But it was worth it!
Cloudy day:
Sunny day:
Now we just need to re-assemble everything and get this thing on the road. We think we will have it registered by the end of January.

Sunday, November 27, 2011

First Look at Patriot Blue Paint!
We spent a lot more time putting the plastic sheeting up on the paint booth than we thought we would, but it turned out pretty well. The little duct-tape pieces on the door keep some magnets in place. The door has two flaps, one that tucks into the booth and one that stays outside. By sticking the magnets together, the flaps are sealed to the wall, thus sealing the booth. It works well, but takes two people to properly seal the door. The white squares are three furnace filters designed to trap overspray before the air exits the booth.

We sprayed sealer on the doors and the nose of the car (because they both fit in the booth) on Friday, and that evening we had a decision to make:
With rainy weather closing in on Sunday, we were not going to be able to spray sealer on the body AND paint the whole car in one day. We decided to paint the doors on Saturday, figuring we could learn from the experience to be better prepared to spray the rest of the car. So...
We modified the door buck to have less interference when spraying, then we carefully cleaned the doors and fired up the fan...
We mixed up a total of 20 ounces of PPG Patriot Blue paint and covered the doors in just two coats...
Then we mixed another 20 ounces of clear coat and applied three coats to the doors!
These pictures were taken with a flash to show the way light plays on the paint. It was too dark Saturday to take pictures once the doors were dry enough to handle, and today it has been dark and rainy all day.
They look even better in person, and we're pretty proud of the way they turned out. We do have a little bit of trash in the clear coat here and there to clean up, and there are a couple of small runs to be addressed. Still, it was a great weekend!
The 10-day forecast does not look good for paint, so the best we can hope to do is to get sealer onto the body so that we're ready for paint when the weather improves. Maybe by then I'll have the blue paint out of my fingernails! :-)

Sunday, November 20, 2011

Inching Closer to Paint
We did some final inspection and sanding of the doors, and switched our attention to the paint booth. The pictures below show the "short version" of our booth". It is 12 x 16 feet. We'll enclose this with plastic and shoot our final sealer coat.
Once the sealer is on and we've had a chance to "scuff" that sealer with special 3M gray scotchbrite pads, we'll extend the paint booth another 10' so that we can fit the entire car inside. This obviously won't fit in the garage, which will make for some interesting lighting challenges.
We're watching the forecast for the long Thanksgiving weekend and hoping to make the most of it. Watch this space next week!

Sunday, November 6, 2011

Quick Update


We have sanded almost all of the car to 500 grit, with just one door and a few small spots on the body left to do.

As we were sanding, I was examining the surface created by the first coat of sealer, wondering if I will be able to spray a smooth enough second coat to go directly to paint. After talking with the paint supply shop, I will spray the second coat of sealer and scuff it with a special scotch brite pad before we start painting. This should knock any imperfections off of the sealer coat.

This weekend, we emptied the garage and cleaned it. We washed the walls, mopped the floor a few times, and blew the dust out of everything before putting it back in the garage. This is all preparation for building a paint booth, as dust is the enemy of a decent paint job.

We will spray the sealer in the spray booth, then take the car outside to scuff it. Scuffing it is just like washing the car with a scotch-brite pad, so we'll have to remove the dust once we're done.

Then we'll be ready for paint. We have 2 long weekends in the next 3 weeks, so be on the lookout for some blue and white stripes soon!

Sunday, October 16, 2011

We Have Sealer!!
We touched up a few areas that needed Metal Glaze or a little more sanding, and went out today to apply the Epoxy Sealer from PPG (JP385). Sealer will provide a uniform color to everything on the car, and will provide a good sticky surface for the paint to adhere to.
We needed one good wet coat of sealer to cover the car, and the local shop said that one quart would do the trick. I'm glad I had a second quard on hand, because we ended up just a little bit short. We used a spraygun that is new to us, and is different than the one we used for SlickSand. It took a few sprays on a piece of paper to dial in the gun, and then we were off!
In order to spray both sides of the doors without repositioning them, we had to make this silly looking modification to the door bucks. There's a piece of wood inside each door that is attached to the long piece of wood, so it is not as precarious as it looks.

As you can see from the first picture below, the sprayed finish has a little bit of a shine. Once this has cured, we will get back to sanding the car one more time. This time, we will use wet/dry sandpaper at 500 grit to wetsand the entire car.


We're getting closer!

Tuesday, October 11, 2011


320 Grit is Almost Done

We spent most of the daylight hours this long weekend in the driveway sanding. The weather was beautiful, breezy and 75-80 degrees each day!

I ordered a set of Soft Sanders (that's a brand name) to help us with the various nooks and crannies that needed sanding. I wish I would have ordered them long ago. The Durablocks that we've been using (and that I pictured in my previous post) trap the sanding dust against the car and turn it into the finest talc.

With the Soft Sander, the dust can escape. It keeps the sandpaper from loading up, speeds sanding, reduces fatigue. They do start to deform after hours and hours of gripping them, but they were definitely worth the money!

These pictures were taken mid-day Sunday. Since then, we finished sanding the body, used Metal Glaze on a number of pinholes, and are doing final inspection and touch up on the hood and body. We still need to finish sanding the doors, but we're hoping to spray our first coat of sealer before the weekend.

Here are the pics:

Monday, September 26, 2011

We Almost Have a Reflection!
We started sanding with 320 grit on the nose this week. Besides loading up the very fine grit with dust more than twice as fast as the 180 grit did, the 320 grit is creating a very smooth surface. By accident, we discovered a mirage effect when we sighted down the sanded surface. It is best captured in the following picture, and was very nice to see!
Speaking of milestones, unless we hit a major snag we are done spraying Slicksand! We now have to sand everything with 320 grit. That'll keep us busy for a couple of weeks. We have a long weekend coming up in mid-October. It'd be great if we could spray paint then, but I'm not sure we'll be ready.

Below left, you'll see freshly sprayed Slicksand. You can see the small pebbling of the surface. On the right, you can see what it looks like sanded to 320 grit. You'll need to supersize these to see the sanding scratches. I noticed that the blog software no longer allows you to just keep clicking to zoom in. If you want to really zoom in, you can click once, then right-click and save the picture locally for viewing.

Sunday, September 18, 2011

Slicksand tastes terrible

...and we should know. We've created enough sanding dust to last us a while.

This week the weather was great, and we made lots of progress with the body. You can tell from the lack of guide coat on the car just how much of it we've already sanded. Once we have the body sanded with 180 grit, we'll need to spray two more coats of Slicksand on it.

We paused long enough on Saturday to put two final coats of Slicksand on the hood. The hood and doors are now ready to sand down to 320 grit.
We're hoping to finish sanding the body this week, put Metal Glaze in the many pinholes we've found, and prep for the final two coats of Slicksand next weekend.