Saturday, August 27, 2011

More SlickSand!

We sanded the doors with guide coat, and today we cleaned them off and sprayed two more coats.

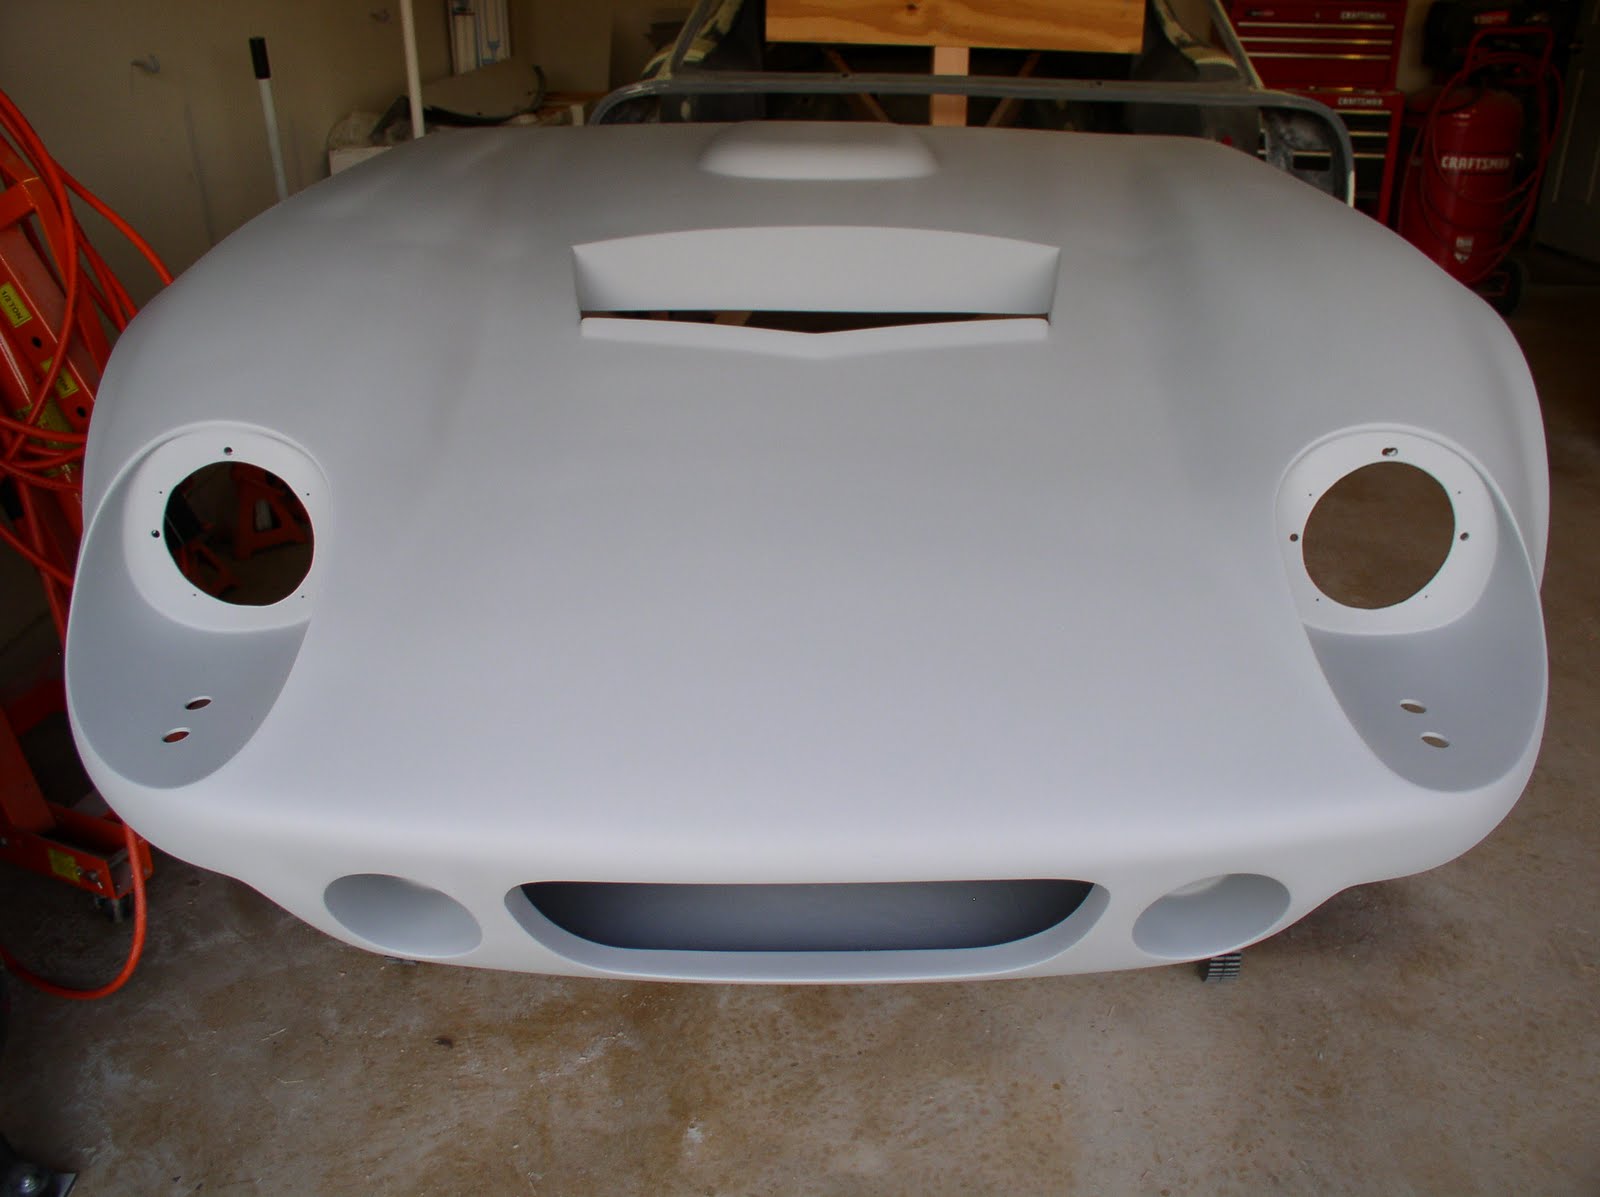
We also cleaned up the hood and sprayed three coats on it. It takes a lot of SlickSand to put a coat on the hood, almost 24 ounces! With 8 ounces, we could coat one side of both doors and still havesome leftover. I ordered a third gallong today because I'm certain we're going to need it.

Spraying that much SlickSand requires two batches to be prepared and sprayed to get a single coat. That added lots of time to the process; we spent more than 4-1/2 hours spraying and cleaning today.

Spraying the hood with SlickSand in the yard was interesting. There was a good breeze and no clouds, so we had to keep moving a portable shade over the hood while the SlickSand cured between coats to keep the sun from heating up the hood.

The resultes were good, and now we have more sanding to do. With the long weekend coming up, we might get the rest of the body SlickSanded.

Monday, August 22, 2011

Applying SlickSand!!

Mother Nature rained us out at the last moment on Saturday, so we finally got everything together in the scorching heat on Sunday afternoon and sprayed some SlickSand.

Mind you, this is our first time spraying anything with this spraygun, with this compressor, that is this thick, this complicated to mix, and this expensive.

No pressure, right?!?

Well, I think it turned out great. It took 4 coats on the insides of the door and 3 on the outsides to do the job. See for yourself!

The next step for the doors is to apply some graphite known as guide coat. The guide coat adheres to the panel very well, but is applied dry so it doesn't chemically bond to the panel.
The sandpaper knocks the guide coat off of the high spots, revealing the lows spots on the panel.
We will sand the doors to 180 grit, then apply more guide coat and sand to 320 grit. At that point, we'll be ready to apply one more coat of SlickSand to be sanded to 500 grit.
Then we just have to repeat the steps for the rest of the car.

Sunday, August 14, 2011

Sawhorse Becomes Sawbuck
I figured out how to support the doors for priming and painting, and we commandeered one of our sawhorses to make it happen.
We've been working on parts of the body that we couldn't reach while it was on the chassis. We scratched off a full page of to-do list items, and only have about half a page left.
We could be spraying SlickSand this week, and we're looking forward to it! SlickSand is designed to build up n the parts, covering the various fillers we've used to date. We'll sand it down with progressively finer sand paper to give a nice smooth surface to paint.
Plus, the parts will all be one color again for a while! Exciting pics to come in the next week or so. Wish us luck!

Sunday, August 7, 2011

Moving Day!!

July 29th marked the one year anniversary of the arrival of the kit. We took a week off to enjoy a short vacation, but we are back to work this week.

We cleared out our list of items that needed to be done before the body came back off, so we started cataloging every nut, bolt, and washer that has to be removed in order to pull the body off of the car.

Next, we moved the body from the chassis to the original storage buck so we could take some measurements. We built the buck that the body will sit on to be painted.


Next, we installed the body and added some supports for the roof. I am thinking about adding a support for the cowl (where the front of the windshield sits), and another support for the hatch area to keep them from drooping.
We have some work to do on areas of the body that we couldn't reach while it was on the car, and then we'll be ready to spray a filler onto the body. This will give it a nice even surface all over. It's pretty smooth now, but we've only sanded it to a rough 80 grit. Before we're done, the sprayable filler will be sanded all the way to 320 grit.
Until next time!