Sunday, January 29, 2012

Empty Boxes
We've been busy installing parts, so let's get to them! We installed the seats and the 5-point racing harness. I also temporarily installed my copilot.
We put the hood and front lights on.
After un-installing the copilot, we installed all of the rear lights and the shifter boot.
Next we installed the wipers. The wiper mounts swivel in unison thanks to a cable that runs between them and back to the motor. You can see a picture here of the 3/8" fuel line that we bent and flared, then installed under the cowl to link the wipers. The wiper blades will go on once we have a windshield, but we did have fun watching the zip-tie we put on the wiper mount moving when we hit the switch.
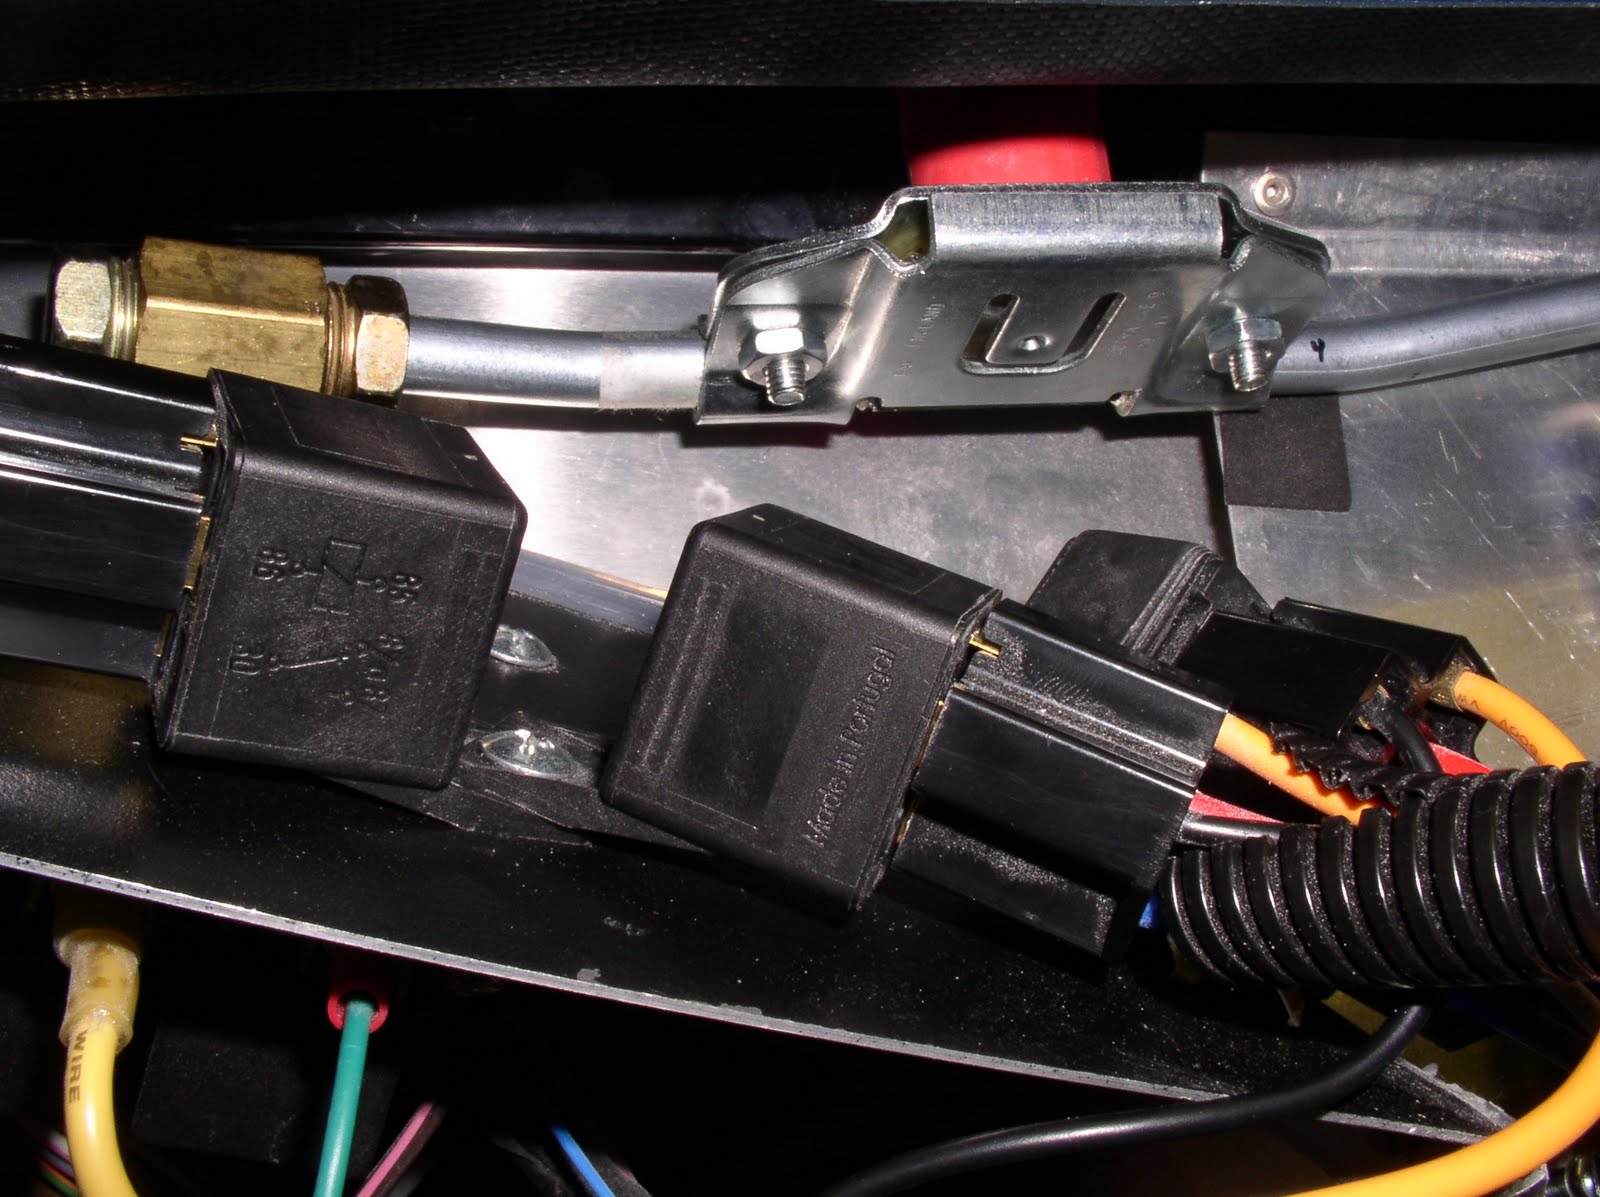
This is the wiper motor. The relay we added on the left adds a "park" feature to the wipers, which is the probably most complex electrical function anywhere in the car.
Next we turned our attention to the doors. We were a little nervous that the removal and re-installation of the body, painting, etc would move something out of alignment. We figured this change would show itself when we tried to install the doors. Fortunately, they turned out great!
You've seen our opening rear windows before, but since we removed the protective film and you can actually see through them, we thought we'd post more pictures. Here you see the window both open and closed. Those who have one of these cars say that this really helps with interior temperatures.
Sharp-eyed observers will also note a couple pieces of roll bar padding installed with a nice stitched-vinyl cover. My wife is doing a super job on the covers, and we'll feature them we we get them installed.
It is still winter, so we are able to spend less time than we'd like on the car. Still, we're down to just a couple of boxes of things to install. Stay tuned!

Monday, January 16, 2012

The Body is On!
We received our replacement shocks and got them installed. We wasted no time dropping the body onto the chassis.
We took a quick drive down the street to test out the brakes on our nasty garage wheels, and the brakes work great!
While the body settled back onto the chassis, we tackled a few things that don't require the body to be bolted down. We cut the roll bar padding, drilled some drainage holes in the rear hatch opening, installed the fuel filler door, and built some wooden ramps to raise the car far enough off of the ground to use our floor jack.
We also covered the switch panel with vinyl and installed the switches. If you click on the second picture you can see the labels that we had made last spring. The company that made them was swept away by the April tornado in Tuscaloosa.
We also addressed a few pieces that prevented the body from sitting in the same spot that it did when we were doing body work. The changes will now start coming very quickly. We'll try to remember to take pictures so you can see the progress.

Monday, January 2, 2012

Great progress this week!
With good weather and some extra time off of work (and off of school for my able assistant), we made some very good progress this week.
We spent some time on the brakes again. We've always had some air trapped somewhere and just haven't been able to chase it out. We also realized that our hopes of using a 1993 Mustang brake master cylinder on 1994 Mustang brake calipers wasn't going to work. The '93s had drum brakes in the rear, so the master cylinder is different. We also found a new leak in a brake line connector. After replacing the connector and the master cylinder, we did some brake bleeding and now have a great-feeling brake pedal that we can't wait to test out. We also installed the brake and clutch pedal covers to match the throttle pedal.
We applied a truck bedliner product to the underside of the hood and portions of the body. It looks really nice, and provides some protection to the inside of the fender wells in case we kick up a rock on the road.
We also decided that we aren't going to flip the body over to glue on a headliner for the interior, so we put truck bed liner on it as well.
We fabricated and installed a few block off plates to help weatherproof the interior, and added silicone caulk to a bunch of places that needed it. We trimmed the transmission tunnel cover and installed riveted-in nuts to hold the cover in place. We drilled a hole in each side of the floor to install the "anti-submarine belt". These are race car seatbelts, and one of the 5 straps comes up between your legs to keep you from sliding under the belts in an accident.
At this point we have nothing left on the list that must be done before the body goes back on the car. However, we do need our replacement shocks from Koni before we can move the chassis to give us room to drop the body on. For now, we're working on a dwindling list of things that we can do without the body on the car.
We are getting very close!